Homeowner’s Guide to Garage EV Charger Installation
Thinking about an EV charger in your garage? Learn how location, panel distance, conduit, permits, and what to buy yourself all affect cost and installation.
Planning Your EV Charger Install: A Real-World Example
We recently got a call from a homeowner — let's call her Lisa — who wanted to install an EV charger in her second garage. That garage already had its own electrical panel, but she had a lot of questions:
- Should the charger go inside the garage or outside?
- How far from the panel can it be?
- Would the unfinished walls be a problem?
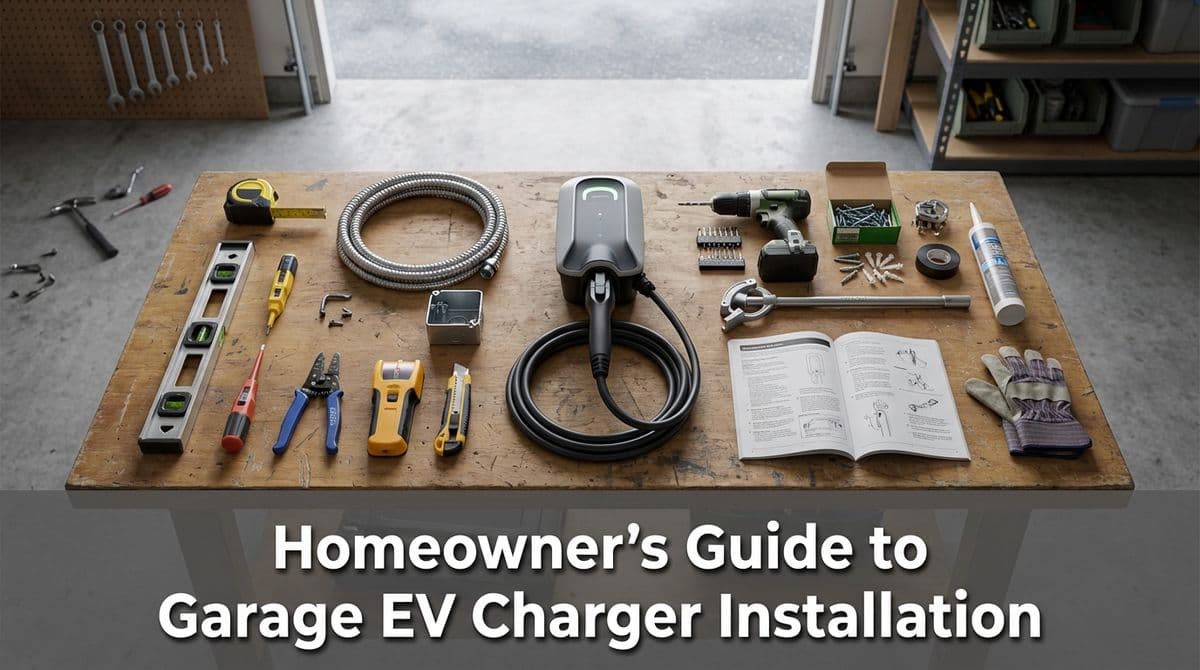
- What does she need to buy herself versus what we supply?
Those are the same questions we hear from a lot of homeowners, so we walked Lisa through the basics and gave her a price range based on a couple of layout options. In this post, we'll walk you through the same conversation so you know what to expect before you schedule your EV charger install.
Inside vs. Outside: Where Should the EV Charger Go?
Lisa's first question was whether she could install the charger on the outside of the garage instead of inside. The short answer is yes — in most cases you can put a Level 2 EV charger either inside the garage or outside on an exterior wall.
Here's how we usually break it down:
- Inside the garage is typically simpler and cheaper if the charger can be mounted close to the panel and the route is straightforward.
- Outside the garage is great if you park outside or want easier access, but it often requires more conduit and weatherproof materials, which adds cost.
With Lisa, we explained that mounting outside was possible, but we'd likely need to run conduit from the panel to the exterior location. Conduit is the protective tubing that carries the wires — it can be metal or PVC, and the material and length impact the final price.
How Panel Distance Affects Cost
Next, we talked about distance from the panel. Lisa's garage panel was on the wall, and she was wondering how far away the charger could be. From an electrical standpoint, we have plenty of options, but from a cost standpoint, closer is almost always better.
For her situation, we gave two ballpark scenarios:
- Charger mounted right next to the panel (about 14 inches away): around $750, because it's a short run, minimal materials, and less labor.
- Charger further away using conduit inside the garage: around $1,250, because it requires more conduit, more wire, and more time to route everything cleanly.
Those numbers will vary from home to home, but they're a good example of how layout impacts the project. When we visit your home, we'll look at:
- Distance from panel to charger location
- How many turns or obstacles the wiring path has
- Whether we can surface-mount conduit or need to fish wires in walls
Unfinished vs. Finished Walls: Does It Matter?
Lisa was worried because her second garage wasn't fully finished — no drywall on some walls. She asked whether that was going to be a problem.
In many ways, unfinished walls actually make our job easier. We explained to her:
- In a finished garage, we often have to cut through drywall to run new wiring, then you'd need the walls patched and painted afterward.
- In an unfinished garage, we can often run conduit or cable on the surface of the framing, which is faster and avoids drywall damage.
So if your garage looks a bit "in progress," don't worry — that's usually not a problem. In fact, it can keep costs down and make future changes easier.
What You Need to Buy Yourself vs. What We Provide
Like many homeowners, Lisa already had the portable charger that came with the car — the one that plugs into a regular wall outlet. She wasn't sure if that's what we would use, or if she needed something different.
Here's how we explained it:
- You purchase the EV charger itself. That can be a wall-mounted Level 2 charger (hardwired or plug-in style) from whatever brand you prefer.
- We provide everything else for the installation. That means the wiring, breaker, conduit, boxes, fittings, and all the electrical labor.
If you're not sure which charger to buy, we can come out first, look at your panel, your parking habits, and your Wi-Fi signal, and then recommend a unit that fits your needs and budget. Once you've purchased the charger, we schedule the install and handle the rest.
Permits, Code, and Safety Basics
One thing that didn't come up in Lisa's initial call, but always comes up during the onsite visit, is permits and code requirements. EV chargers are a high-load electrical device, so they need to be installed correctly.
In most areas, this means:
- Electrical permit: For a new 240V circuit or a hardwired EV charger, a permit is usually required. We handle the paperwork and the inspection scheduling.
- Panel capacity check: We confirm your panel can safely support the new circuit without overloading it. Sometimes we need to add a subpanel or manage loads.
- Proper breaker and wire size: The breaker and wire must match the charger's rating (for example, many 40A chargers require a 50A circuit).
- GFCI protection: In garages and outdoor locations, ground-fault protection is often required by code.
After the installation, a city or county inspector will usually come by to verify that everything meets code. Once it passes, you're cleared to charge with peace of mind.
Typical Cost Ranges and Scenarios
Every home is different, but Lisa's estimate of $750–$1,250 is a good example of common price ranges for straightforward installs. To give you more context, here's how we typically see projects break down:
- Simple install ($600–$900): Panel in the garage, charger mounted right next to it, short wire run, unfinished or easily accessible walls.
- Moderate install ($900–$1,500): Panel a bit farther away, conduit across part of the garage, maybe an exterior mount on the same wall.
- Complex install ($1,500+): Long wire runs, panel upgrades, tricky routing through finished walls, or detached garages with no existing power.
The best way to get a firm number is exactly what we offered Lisa: an onsite visit where we look at your specific layout and give you a written estimate.
How to Get Ready Before Your Electrician Arrives
If you're thinking about adding an EV charger in your garage, here are a few steps you can take before we come out:
- Decide where you usually park. Picture where the charge port is on your vehicle and which wall makes cord access easiest.
- Measure the distance from the panel. Even a rough measurement helps us talk through options and price ranges over the phone.
- Take a few photos. Snap pictures of your main electrical panel, subpanel (if you have one), and the area where you want the charger.
- Start researching chargers. Look at charging speed, smart features, cord length, and whether you want a plug-in or hardwired model.
When you're ready, we'll do for you what we did for Lisa: answer your questions, walk you through location and cost options, and install a safe, code-compliant EV charger that fits the way you actually use your garage.