Why Your Light Smokes & Your Smart Doorbell Won’t Chime
If a light fixture smokes when you flip the switch or your smart doorbell won’t ring the chime, here’s how we diagnose it and what you should do next.
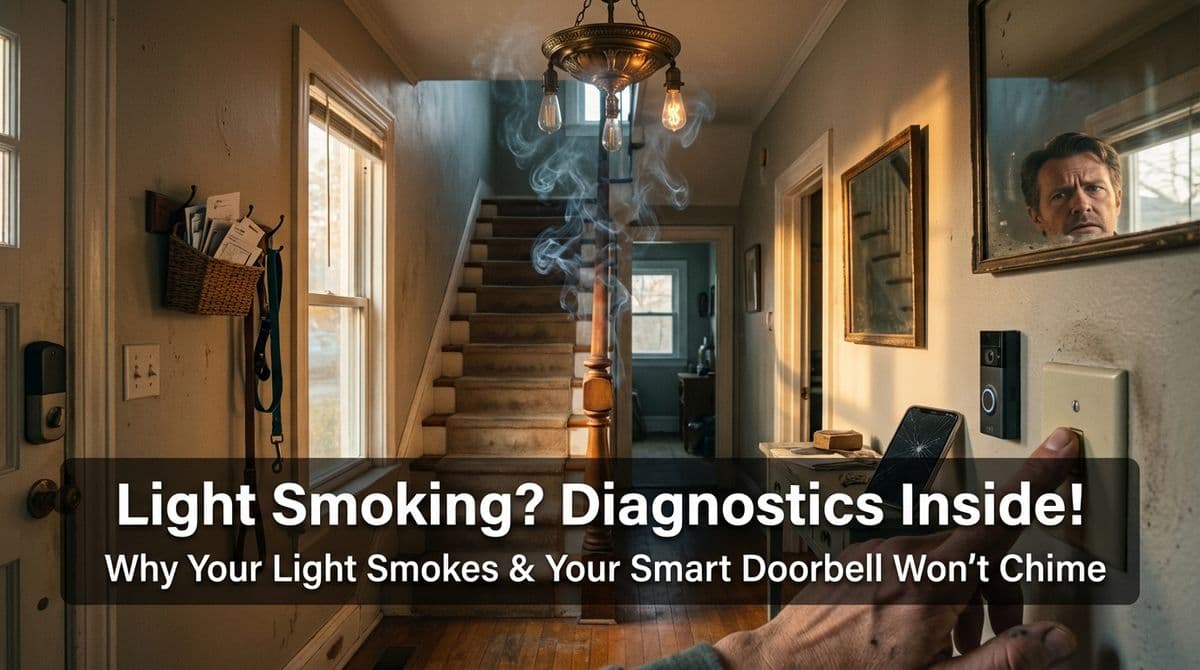
A Panicked Call About a Smoking Light Fixture
We recently got a call from a customer — let’s call him Kevin — who was more than a little nervous. Every time he flipped the switch for his front porch pendant light, the fixture started to smoke. To make it even stranger, his sister had just called him with the exact same issue at her house.
While we were getting Kevin scheduled, he mentioned a second headache: his Google Nest doorbell wasn’t triggering the chime inside the house. The camera worked, the app worked, but the good old “ding-dong” was silent.
Calls like Kevin’s are exactly what we deal with every week. When he reached out, we walked him through some safety steps over the phone, scheduled what we call a diagnosis and repair visit, and planned to look at both the smoking light and the quiet doorbell in one trip. In this post, we want to share how we think about these problems, what we look for when we’re on site, and what you as a homeowner should do if you ever see smoke or have a smart doorbell that won’t ring your existing chime.
Is a Smoking Light Fixture an Emergency?
From our perspective as electricians, a smoking light fixture is never something to “wait and see” about. When Kevin told us, “I flip the switch and it starts smoking,” our first priority was safety. We immediately advised him to turn the switch off, leave the light off, and, if possible, shut off power to that circuit at the breaker until we could get there.
Does it always mean there’s an active fire? Not necessarily — but it does mean heat is building up somewhere it shouldn’t be. That can be from a loose connection, damaged insulation, or an overloaded component, and all of those are fire risks if ignored.
How We Prioritize and What You Can Expect
When someone calls us about smoke from a fixture, we treat it as a priority. Just like with Kevin, we look for the earliest available appointment and put clear notes in our system that there’s a potential short or overheating. On the day of the visit, our electrician calls on the way so you’re not caught off guard.
Once we arrive, we walk through the issue with you, look at the switch, the fixture, and the electrical panel, and then shut down the power to the circuit before we touch any wiring. Our goal during a diagnosis and repair visit is simple: find the root cause, make it safe, and get it working again during that same trip whenever possible.
Common Reasons a Light Starts Smoking
When we come out for what we call a diagnosis and repair — like we scheduled for Kevin — we methodically check a few usual suspects. The most common causes we see include:
1. Loose or Damaged Wiring Connections
Inside many light fixtures, wires are connected with small wire nuts. Over time, those connections can loosen, or the wire insulation can get nicked. A loose connection can arc (tiny sparks) and create heat, which may lead to smoke or a burning smell.
When we’re on site, we carefully remove the fixture, inspect every connection, and look for discoloration, melted insulation, or brittle wires. If we find damaged wiring, we cut it back to clean copper, remake the connections properly, and replace any components that have been overheated.
2. Using the Wrong Bulbs
We still see this a lot: a fixture rated for a 60-watt bulb stuffed with a high-wattage incandescent or an enclosed fixture packed with bulbs that aren’t designed for that kind of heat. The excess heat can burn dust, scorch the socket, and, in some cases, release smoke.
Part of our visit is checking the fixture’s rating label and what bulbs are installed. We’ll swap in the correct bulbs, explain what’s safe to use going forward (including LED options), and let you know if the fixture itself should be upgraded.
3. Failing Socket or Internal Fixture Components
Sometimes the issue isn’t the wiring or the bulb at all — it’s the socket or internal parts of the fixture breaking down. Old or cheaply made fixtures can develop poor contacts, which overheat and start to smoke or smell like burning plastic.
When we see this, we test the socket and internal parts. If they’re compromised, we’ll talk through replacing just the bad part (if it’s safe and available) or installing a new fixture. We always show you what we found so you can see the damage for yourself.
4. Moisture and Outdoor Fixtures
Kevin’s smoking fixture was on his front porch — an area that sees humidity, temperature changes, and possibly wind-driven rain. Moisture can corrode connections, create short circuits, and lead to both flickering and smoke.
For outdoor or porch lights, we look at how well the fixture is sealed, whether the box is rated for damp or wet locations, and if there are signs of water intrusion. If moisture is the culprit, we may recommend a new, properly rated porch fixture and sometimes a new box or better sealing to keep water out.
What You Should Do If a Light Starts Smoking
If you ever flip a switch and see smoke or smell burning, here’s what we always tell homeowners to do before we arrive:
- Turn the switch off immediately. Don’t keep testing it “one more time” to see if it still happens.
- Shut off the breaker that controls that light, if you know which one it is.
- Don’t remove the fixture yourself if you’re not comfortable with electrical work.
- Call a licensed electrician and describe exactly what you saw (smoke, sparks, smell, etc.).
While we’re on the phone, we’ll ask a few quick questions — just like we did with Kevin — to get a sense of how urgent the situation might be, then we’ll schedule a visit and come prepared with the parts and tools we typically need for porch and pendant lights.
How Smart Doorbells Interact with Your Existing Chime
Once we had Kevin’s smoking light on the schedule, he added a “two for one” request: his Google Nest doorbell wasn’t talking to the chime inside the house. This is another thing we’ve been seeing more often as smart doorbells become popular.
Most homes with a traditional wired doorbell have three main pieces:
- The button at the door
- The mechanical chime inside
- A low-voltage transformer (often near the panel or HVAC equipment)
When you replace the old button with a smart doorbell, that new device is now sharing that same transformer and wiring. If any of those pieces aren’t compatible or properly set up, you get what Kevin had: a video doorbell that works in the app, but a chime that never rings.
Common Smart Doorbell & Chime Issues We See
When we come out to look at a Nest, Ring, or similar doorbell that won’t ring the chime, we usually find one of these:
- Transformer too weak: Many older transformers are 10–16 volts and can’t supply enough power for the smart doorbell plus the mechanical chime.
- Missing or miswired adapter: Some smart doorbells need a special adapter or module installed at the chime for it to work correctly.
- Incompatible chime: Certain smart doorbells only work with mechanical chimes, not electronic or digital ones (or vice versa).
- Incorrect app or device settings: In the app, the “internal chime” option may be turned off, or the chime type might be set incorrectly.
On a visit like Kevin’s, we systematically check each of these: we test transformer voltage, open the chime box to inspect wiring, verify the doorbell model’s compatibility, and walk through the app settings with you so you can see what we’re changing.
What We Typically Do to Get Your Smart Doorbell Working
We approach smart doorbell problems the same way we do smoking fixtures: diagnose first, then fix. Depending on what we find, we might:
- Upgrade the transformer to a higher-voltage model approved for your specific smart doorbell.
- Install the manufacturer’s chime adapter inside your existing chime box and wire it correctly.
- Reconfigure or replace the chime if it isn’t compatible with the doorbell you’ve chosen.
- Adjust app settings with you so you understand how to enable or disable the internal chime and notifications.
We always explain the options before we touch anything, including any costs or pros and cons (for example, keeping a mechanical chime vs. going fully app-based). By the time we leave, our goal is that you not only have a working doorbell and chime, but you also understand how your system is wired and how to change settings in the future.
When to Call Us
If your light fixture ever smokes when you flip the switch, or your smart doorbell isn’t ringing your chime, it’s time to bring in a pro. We handle these exact issues all the time — just like we did for Kevin — and we’re set up to diagnose and repair both problems in a single visit whenever possible.
You don’t have to guess whether it’s safe, compatible, or wired correctly. That’s what we’re here for: to keep your home comfortable, convenient, and, most importantly, safe.